Gardeners! If you’re in a temperate climate like we are (zone 5b), you’ve likely noticed that most, if not all, of your annual flowers and vegetables have either set seed or are well on their way to doing so. We’ve had an exceptionally warm autumn this year; normally by now we’d have seen overnight lows into the mid- and high 30s, but we haven’t yet dropped below 40 degrees. This means that many annuals have simply kept on producing and haven’t yet been triggered to set seed and then die; while day length has of course decreased, temperatures have remained unusually high. This is terrible news for the massive wildfires burning in Utah and Wyoming (we are once again coughing under smoky, hazy skies) but great news for those of us focused on saving seeds, since our window of opportunity is still open – for at least another week or two here.
By necessity, humans have saved seeds for about ten thousand years, since the dawn of established agriculture. Modern seed companies have only existed for about a hundred years; prior to that, basically everyone saved seeds – because that was the only way to guarantee food for the following season. Once seed companies figured out how to market, brand and then patent seeds, their glossy catalogues convinced everyone that it was easier to buy rather than save seeds. Seed saving became a forgotten skill, relegated along with other dusty homesteading chores, like canning and putting up food, bread baking, and mending. And now well more than two-thirds of our world’s seeds are controlled by just four companies. Those who control the seeds also control the food.
Then came the pandemic. Spring 2020 taught us all many important lessons, but gardeners new and old across the U.S. learned that our commercial seed supply, previously thought of as infinite and indestructible, was very much neither of those things. Folks grow their own food and save seeds now for lots of different reasons, but foodshed security and sovereignty are one of many sensible reasons to learn these skills in an age of ever-intensifying crises. We’ve written extensively about seeds here, here and here, if you’d like to read more.
If you’ve never saved seeds before, we’ve got a few helpful tips!
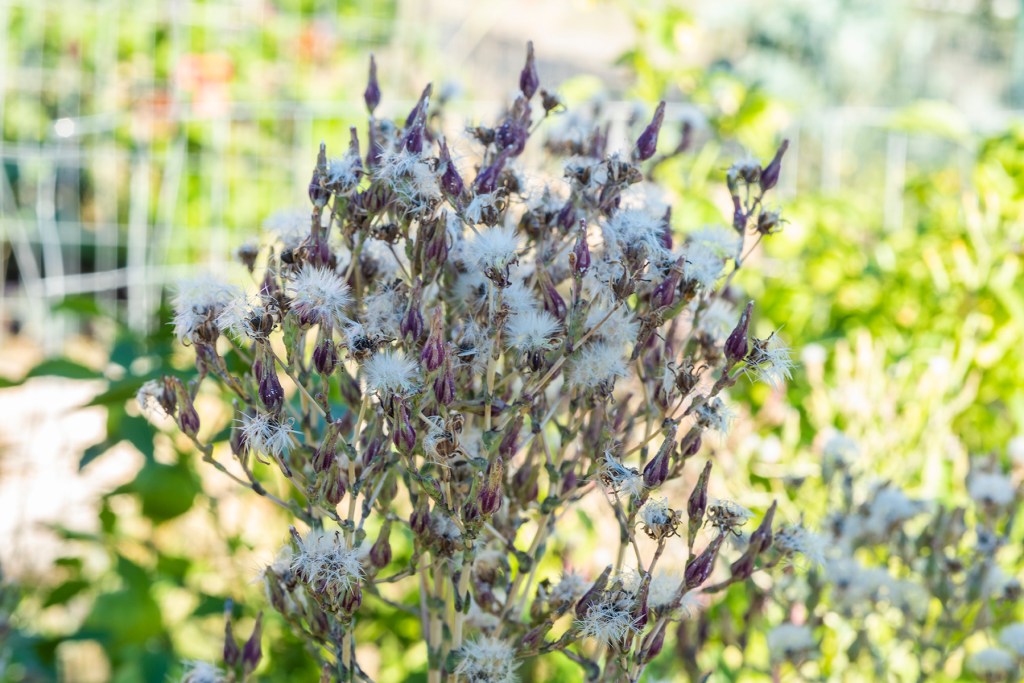
- The best way to learn about seeds is to walk your yard, land, neighborhood or local park frequently and observe plants throughout their life cycles. Most annuals will naturally set seed after flowering; by watching the plants closely throughout the year, you’ll learn when and how the seeds and seedpods appear.
- Intentionally letting plants go to seed on your own property is another great way to teach yourself how to save seeds. Instead of quickly cleaning up greens, brassicas and flowers after harvest, let some of the plants complete their natural life cycle. This is also beneficial for pollinators, since our high-plains desert environment lacks flowers later in the season.
- Know your plant! Before collecting any seed, understand whether the plant is an annual, perennial or biennial. Know whether it’s hybrid or open-pollinated. Hybrid seeds can be saved, but offspring will likely not breed true and will need to be stabilized through multiple generational grow-outs.
- Crops destined for seed saving should typically be left on the plant until long after they’re good to eat; they need to be far beyond fully ripe (cucumbers should be yellow, zucchini should be huge). If possible, always let seeds ripen on the plant, barring extreme weather or predation.
- Don’t save seeds from plants that are diseased, damaged or struggling. Examples of this include blossom end rot, tobacco mosaic virus, yellow leaf curl, and a number of other pathogens, pests and diseases. Only save seed from healthy, thriving plants to encourage that same behavior in future grow-outs. Remember that you’re saving for quality and resilience – early ripening, best flavor, grasshopper resistance and so on.
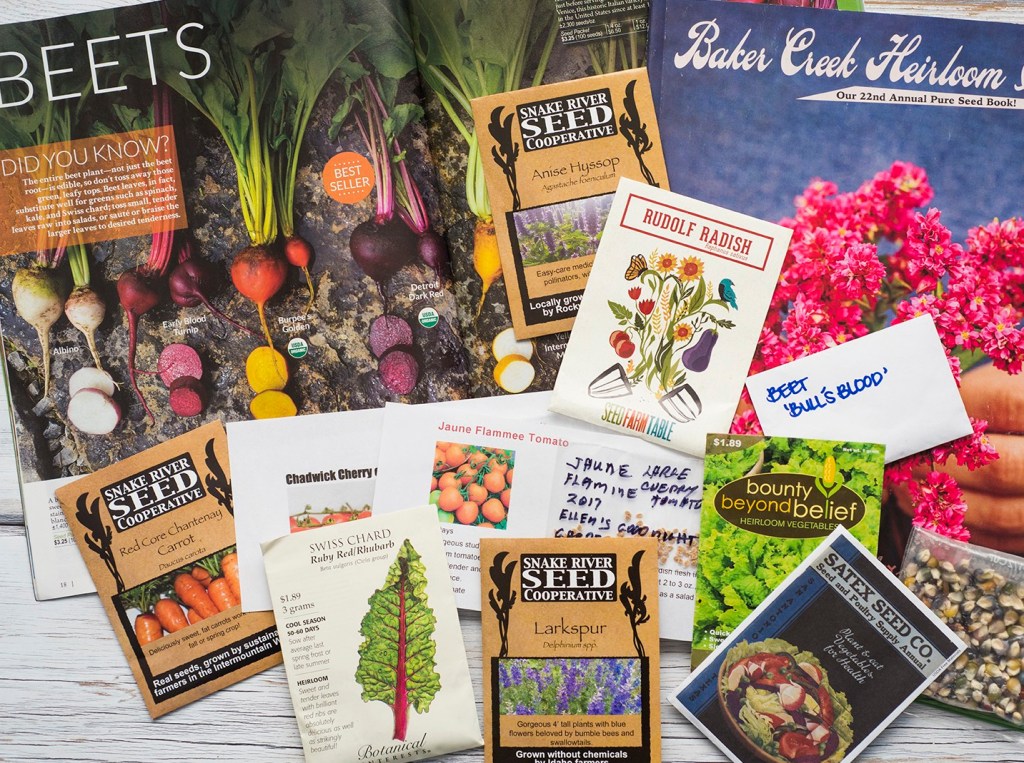
- Label all seeds carefully with crop, variety (if known), and date and place harvested. Descriptors (“tangy, flavorful, golf ball-size reddish-purple tomato”) are helpful, too, as are details about the plant’s growing conditions and that season’s weather.
- Store all seeds in a cool, dark and dry place. Don’t store seeds where rodents, birds or bugs can eat them!

Best seeds to save for beginners:
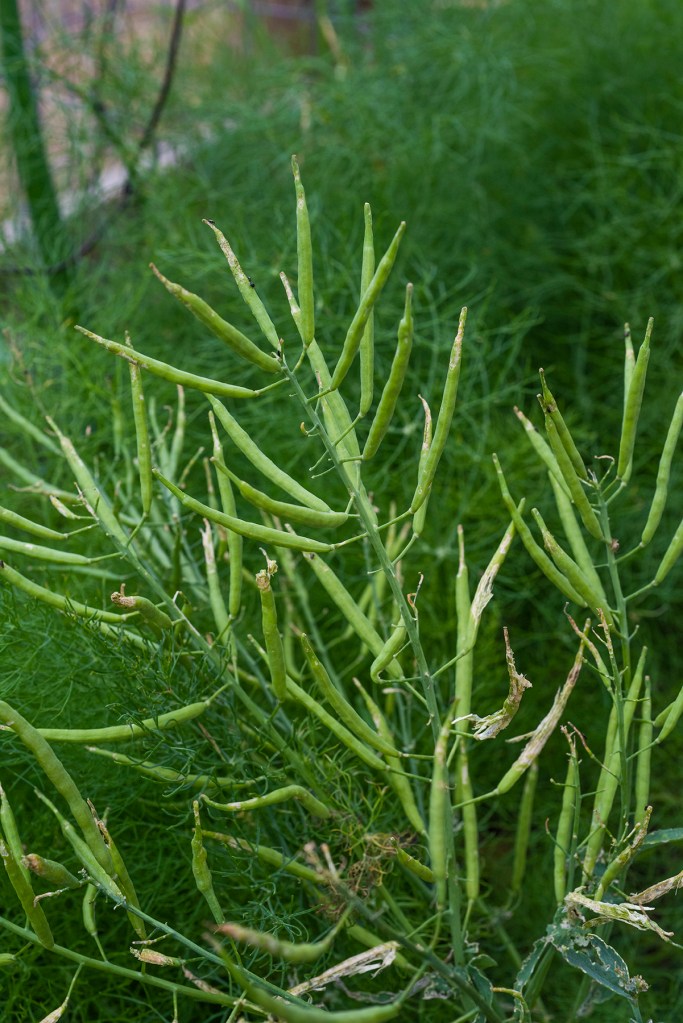
- Beans – leave the pods on the plant until they’re “rattle-dry.” Once dry, the entire plant can be put into an old pillowcase or other bag and threshed until the beans separate. Remove any remaining plant material and store the beans in a cool, dry place. Always rinse and sort dry beans before cooking!
- Lettuce and other greens – most lettuces will go to seed naturally if left alone. Allow seed heads to dry for 2-3 weeks after flowering, then cut off entire top of plant and allow to dry upside down in paper bag.
- Peas – as with beans, the pods should be left on the plant until rattle-dry, at least three weeks after eating stage. If frost threatens, the entire plant can be pulled and hung upside down to dry completely.
- Peppers – allow peppers to dry on the plant (don’t save seeds from green peppers; they’re not fully ripe). Mature pepper seeds will typically turn a gorgeous golden color. Gently remove seeds from fruit and spread to dry completely. Typically, no further cleaning or processing is needed for pepper seeds.
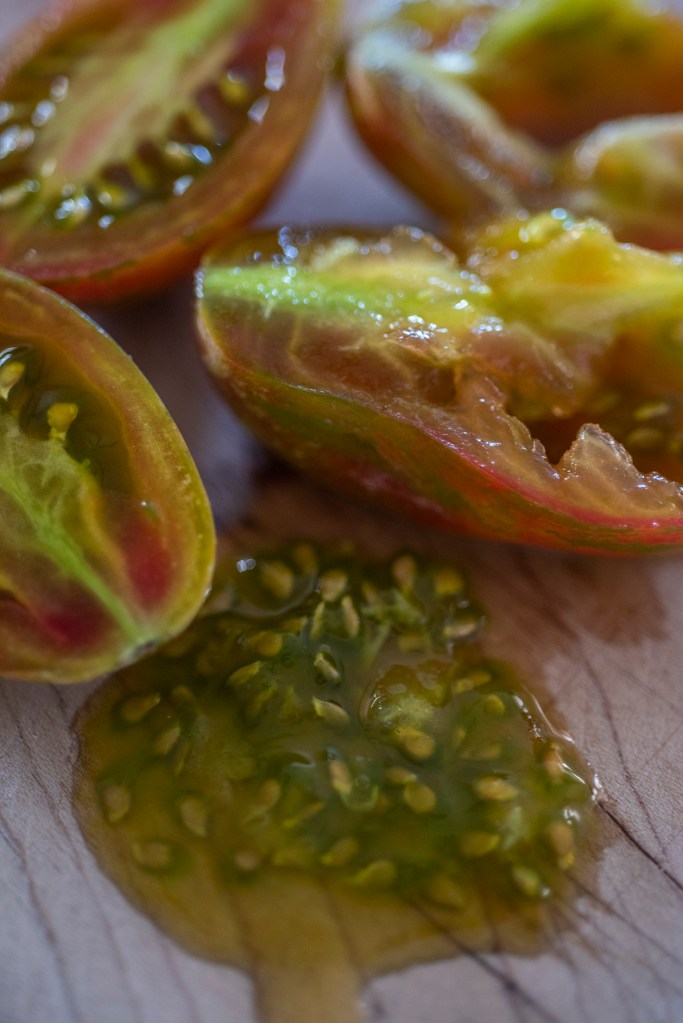
- Tomatoes – by far the most popular backyard garden crop, saving tomato seeds requires wet-harvesting. Slice a completely ripe tomato in half along the equator and squeeze out the seeds. (If done carefully, the tomato can still be eaten.) Place the seeds and their surrounding jelly-like substance into a small jar or saucer. Add a little water so the mixture is very moist. Loosely cover the container and place in a warm location for three days, gently agitating the mixture each day. After three days or so, you should see a layer of fungus on top; this fungus consumes the seed’s gelatinous coating that prevents germination inside the tomato and produces antibiotics that help control seed-borne diseases. Once the fungus has formed, fill the container with warm water and let the viable seeds sink to the bottom. Pour off the water, pulp and immature seeds from the top and repeat the process until the water is clear. Spread the damp seeds on newspaper or paper towels and let dry completely, then label and store. Cucumber seeds are saved through this same wet-harvest method.
You might choose to save seeds to preserve unique cultivars, to honor your history and culture, to grow interesting plants, to share seeds with others, to save money or for a million other reasons. No matter why you choose to save seeds, learning this lifelong skill will help you become a better gardener and will build your own food security and resiliency.
If you’re in the neighborhood, come out to the GMAEC’s harvest festival this Saturday, October 12. I’ll be giving a talk on seed saving and we’ll have organic seed garlic and heirloom dry beans for sale. We’d love to see you!